Sending certified mail used to mean one thing: a trip to the post office. You'd print your letter, fill out the green PS Form 3811 card, wait in line, pay at the counter, and hope you didn't lose the receipt. For a single letter, that's easily 30–45 minutes of your day.
There's a faster way. You can send certified mail online without going to the post office — composing your letter, selecting certified delivery, and submitting everything in a few minutes from your browser. A service like WriteToMail handles the printing, postage, and USPS handoff on your behalf.
This guide walks through the entire process, step by step.
What You'll Need Before You Start
No special software. No printer. No stamps. Here's what you actually need:
- Your letter content — either typed out or saved as a PDF
- The recipient's full mailing address — name, street, city, state, ZIP
- Your return address — for USPS delivery confirmation purposes
- A WriteToMail account — free to create at writetomail.com
By the end of this guide, you'll have a certified letter submitted to USPS with a tracking number — without leaving your desk.
Why Certified Mail Matters (and When It's Legally Required)
Certified mail creates a verifiable paper trail. USPS Certified Mail provides a mailing receipt and electronic verification that an article was delivered or that a delivery attempt was made. That delivery record can be critical in legal and financial disputes.
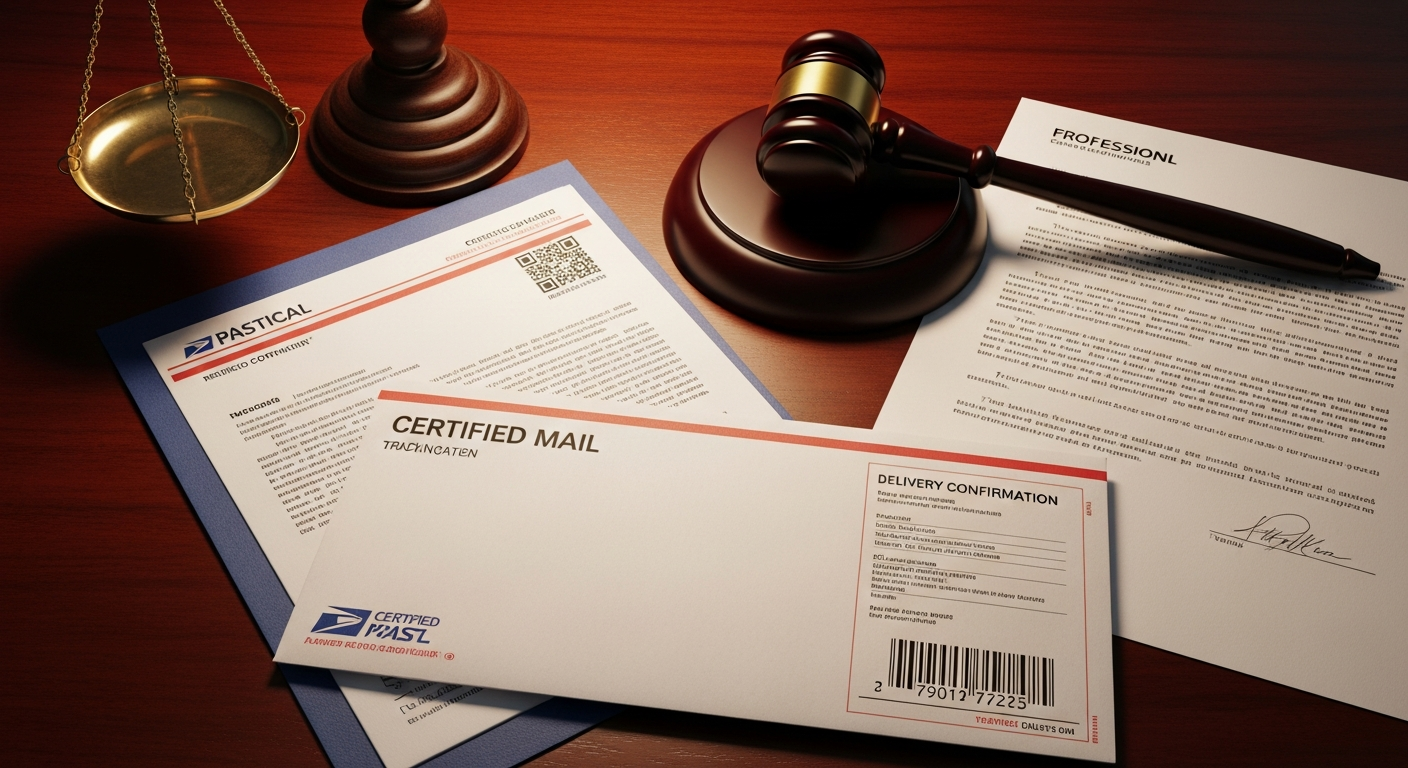
Courts, landlords, and attorneys rely on certified mail for a specific reason: it creates proof that the recipient was formally notified. Without it, a party can claim they never received a letter. With it, that claim becomes much harder to sustain.
Situations where certified mail is legally required or strongly recommended include:
- Demand letters — formal notices requesting payment or action before litigation
- Lease terminations — many states require written notice sent by certified mail
- Eviction notices — pay-or-quit and notice-to-vacate letters in landlord-tenant disputes
- Cease and desist letters — formal demands to stop an infringing activity
- IRS correspondence — the IRS recommends certified mail for time-sensitive filings
- Insurance claims — disputed claims often require written notice via certified mail
- Legal settlement offers — documentation that a settlement was formally tendered
According to the National Conference of State Legislatures, most U.S. states have specific statutes governing how landlord-tenant notices must be delivered — and many explicitly require certified mail or a comparable trackable delivery method.
Step 1: Create Your WriteToMail Account
Go to writetomail.com and sign up. The process takes under two minutes.
You'll enter your email address, create a password, and verify your account. No credit card is required to create an account — you only pay when you're ready to send.
Expected outcome: You're logged into your WriteToMail dashboard and ready to compose or upload your letter.
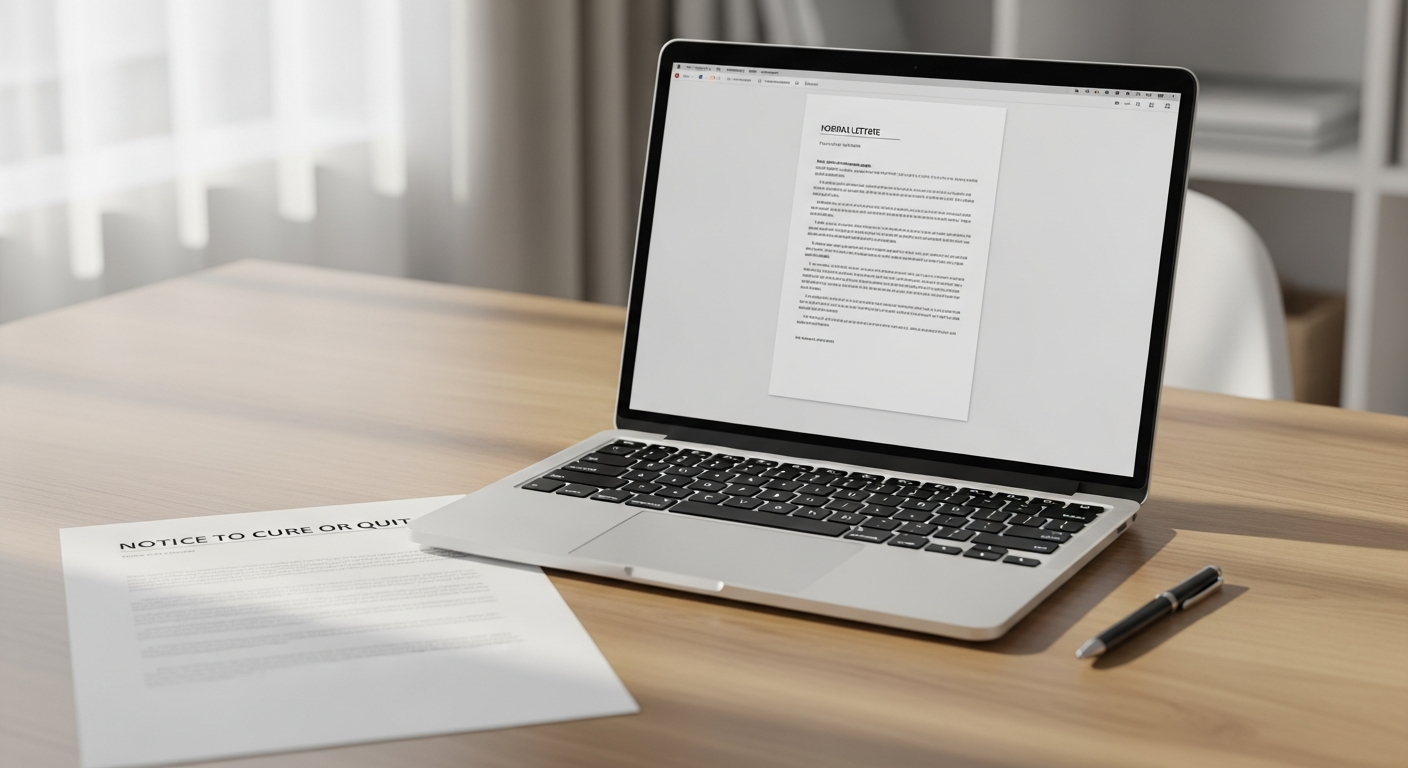
Step 2: Compose Your Letter or Upload a PDF
WriteToMail gives you two paths here.
Option A: Write Your Letter in the Editor
Use the built-in rich text editor to compose your letter directly in the browser. You can adjust fonts, styles, and formatting. If you'd prefer not to write from scratch, WriteToMail's AI drafting tool lets you describe what you need — for example, "a demand letter requesting $2,400 in unpaid rent from a former tenant" — and it generates a polished draft you can review and edit.
Pre-built templates are available for common certified mail scenarios:
- Demand letter template — for payment disputes, contract breaches, or property damage claims
- Cease and desist letter template — for trademark, copyright, or harassment situations
- Formal complaint letter template — for disputes with businesses, contractors, or service providers
These templates handle structure and legal language, so you're filling in specifics rather than writing from a blank page.
Option B: Upload an Existing PDF
If your letter is already drafted in Word, Google Docs, or another tool, export it as a PDF and upload it directly. WriteToMail prints and mails what you upload — no re-typing required. This is covered in detail in the guide on how to upload and mail a PDF letter without a printer.
Expected outcome: Your letter is composed, reviewed, and ready for recipient entry.
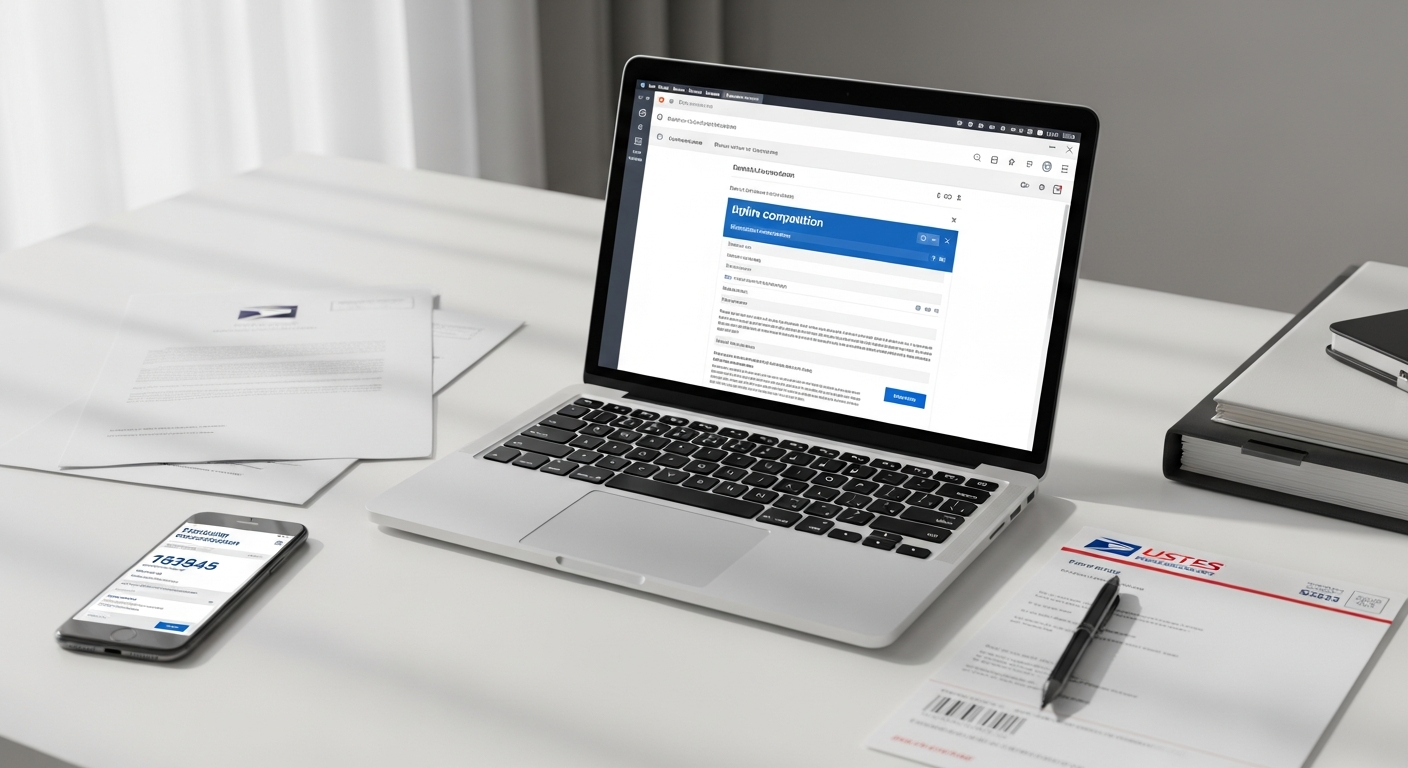
Step 3: Enter the Recipient's Address
Enter the full recipient mailing address:
- Full name or business name
- Street address (including unit number if applicable)
- City, State, ZIP code
Double-check this before proceeding. USPS certified mail is tied to a specific physical address, and a wrong ZIP code or misspelled street name can delay or misdirect delivery. WriteToMail does not modify or correct addresses you enter — accuracy here is your responsibility.
Also confirm your return address is correct. This appears on the envelope and is used by USPS if delivery is unsuccessful.
Expected outcome: Recipient and sender addresses are entered and verified.
Step 4: Select USPS Certified Mail as Your Delivery Method
This is the step that distinguishes a certified letter from standard first-class mail. In the delivery options section, select Certified Mail.
Certified mail through USPS includes:
- A unique tracking number for your letter
- Electronic confirmation when delivery is attempted or completed
- An official USPS mailing receipt tied to your send
If you want a physical Return Receipt (the green card), that's an additional USPS add-on. For most legal purposes, the electronic delivery confirmation is sufficient — and easier to archive.
For context on costs: USPS Certified Mail carries a surcharge on top of standard postage. As of 2026, USPS Certified Mail costs $4.85 per piece in addition to regular First-Class postage. WriteToMail's pricing reflects USPS rates — check WriteToMail's pricing page for current totals.
Expected outcome: Certified mail delivery is selected, and you can see the total cost before confirming.
Step 5: Review and Submit Your Order
Before payment, review everything:
- Letter content — read it one more time
- Recipient address — verify spelling and ZIP code
- Delivery method — confirm "Certified Mail" is selected
- Return address — confirm it's correct
Once you submit and pay, your letter enters the print queue. WriteToMail handles the physical production — printing your letter, folding it, inserting it into an envelope, applying postage, and delivering it to USPS.
Expected outcome: Order is placed. You receive a confirmation with your USPS tracking number.
Step 6: Track Delivery
After submission, you'll have a USPS tracking number. Use it at USPS Tracking or through your WriteToMail account to monitor delivery status.
Certified mail generates a delivery attempt record even if no one is home to sign. That record — timestamped and USPS-verified — is what gives certified mail its legal weight.
Save your confirmation email and tracking number. If the certified letter relates to a legal matter, keep a copy of the letter itself alongside your delivery confirmation. Courts and attorneys may ask for both.
Expected outcome: You have a USPS tracking number and can confirm delivery without making a single phone call or post office visit.
Common Mistakes to Avoid
Sending first-class when certified is required. Standard mail has no delivery confirmation. If a contract, lease, or statute requires certified mail, first-class doesn't satisfy that requirement. Always check the legal standard before sending.
Wrong or incomplete recipient address. Certified mail won't reach the right person if the address is wrong. Look up the recipient's address independently — don't rely on a letter they sent you if there's any chance it's outdated.
Waiting too long. Many legal notices have deadlines — 30 days to respond, 60 days before filing suit. The date USPS receives the letter, not the date the recipient signs for it, is often what matters legally. Send as early as possible.
Not saving your tracking confirmation. Once a legal matter progresses, you'll need to prove the letter was sent and delivered. Download or screenshot your confirmation immediately.
Uploading a poorly formatted PDF. If you're using the PDF upload option, make sure your document has adequate margins and readable font sizes. What looks fine on screen may print poorly if margins are too narrow.
When You Don't Need Certified Mail
Certified mail adds cost and slight delivery complexity. It's not always necessary. For general business correspondence, invoice reminders, or personal letters, USPS First-Class Mail is faster and cheaper — typically delivered in 2–5 days.
The general rule: use certified mail when you need to prove someone received a formal legal notice. Use First-Class for everything else.
If you're still deciding which mail type fits your situation, the broader guide on how to send physical mail online covers the full range of options — from postcards to certified letters to check mailing.
Troubleshooting
"My tracking number shows no movement." USPS scan data can lag 24–48 hours after a letter enters the mail stream. Wait two business days before assuming a delivery issue.
"The recipient says they didn't receive the letter." Pull up your USPS tracking. If delivery was confirmed, you have documentation regardless of what the recipient claims. If it shows an unsuccessful attempt, USPS will hold the item at the local post office for pickup.
"I made an error after submitting." Once an order is placed and enters the print queue, changes generally cannot be made. If you catch an error immediately, contact WriteToMail support before the letter is printed. Check WriteToMail's contact or help resources for current support options.
"I need to send certified notices to multiple recipients." WriteToMail supports bulk mailing via CSV upload, which means you can send certified letters to dozens or hundreds of recipients in a single session — each personalized with individual names, addresses, and variable fields. Property managers sending lease termination notices to multiple tenants, for example, can handle the entire batch at once. The workflow for sending bulk mail online explains how that process works.
Next Steps
Sending certified mail online without going to the post office takes five minutes once you know the workflow. The physical result — a USPS-certified letter with a tracked delivery record — is identical to what you'd produce by standing in line at the counter.
If your certified letter involves a legal dispute, a few additional resources worth reviewing:
- For demand letters specifically, the guide on what a demand letter is and when to use one walks through the required components and legal weight.
- If you're a landlord or property manager sending formal notices, the landlord-tenant notice mailing guide covers state-specific requirements and the online workflow.
- If the situation involves a cease and desist, the cease and desist letter mailing service guide explains how to draft and send one today without an attorney.
The post office isn't going anywhere. But for certified mail, you don't need it anymore.
Sources
- USPS Certified Mail — United States Postal Service — official USPS description of Certified Mail service, including tracking, mailing receipt, and delivery confirmation features
- USPS First-Class Mail — United States Postal Service — USPS pricing and delivery standards for First-Class Mail used for cost comparison
- USPS Package Tracking Tool — the official USPS tracking portal referenced for post-delivery confirmation steps
- National Conference of State Legislatures (NCSL) — cited as the source for state-level landlord-tenant notice delivery statutes requiring certified mail
- WriteToMail Pricing Page — current pricing for certified mail and First-Class Mail delivery through WriteToMail