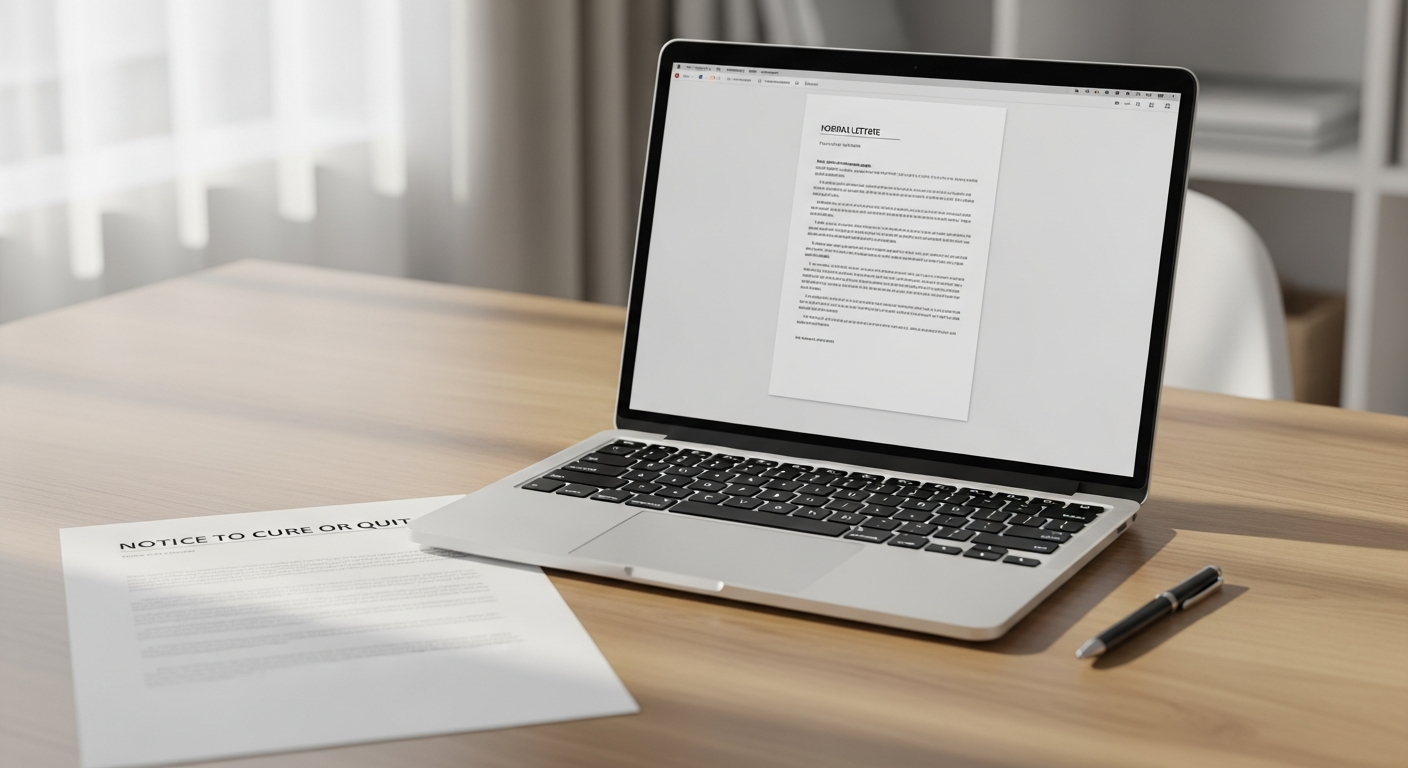
Late invoices kill cash flow. You've sent the email reminders. You've left voicemails. And still, that balance sits unpaid. The fix is often simpler than businesses expect: send a physical letter.
When you send past due notices by mail, something changes. A physical envelope on someone's desk carries weight that an email in a cluttered inbox never will. This guide walks you through exactly how to do it — the right timing, the right language, and how to send notices to dozens or hundreds of customers at once without touching a printer or visiting the post office.
What You'll Need Before You Start
Before drafting your first notice, gather these items:
- Your overdue accounts list — customer names, mailing addresses, invoice numbers, amounts due, and original due dates
- A clear payment policy — know your late fee structure and any consequences you're willing to enforce
- Letter templates for 30, 60, and 90 days — each escalation stage needs different language
- A WriteToMail account — to compose, personalize, and mail letters entirely online
You don't need a printer, stamps, or an office supply run. WriteToMail handles printing, postage, and USPS First-Class Mail delivery once you've submitted your letter.
By the end of this guide, you'll have a repeatable system for sending professional, personalized past-due notices that generate more responses than email alone.
Step 1: Understand Why Physical Mail Outperforms Email for Collections
Before writing a single word, understand the medium you're choosing — and why it works.
Email open rates for financial or billing communications hover around 20–30% on a good day. Physical mail is a different story. According to the Data & Marketing Association, direct mail achieves response rates of 4.4% compared to email's 0.12% — a difference that matters enormously when you're chasing unpaid invoices.
Physical mail also creates a documented paper trail. USPS First-Class Mail provides a record of postage and delivery that email simply cannot replicate. For businesses that may eventually escalate to collections agencies or small claims court, that documentation matters.
There's a psychological component too. A letter in an envelope signals formality. It signals you're serious. Customers who ignore three email reminders will often respond to the first physical notice they receive — because it feels official in a way that a digital message doesn't.
This is why sending invoices and payment reminders by physical mail has become a standard escalation tactic for AR teams that have exhausted digital channels.
Step 2: Set Your Collections Cadence — 30, 60, and 90 Days
A cadence is simply the schedule of when you send each notice. Most businesses use a three-stage approach tied to how long an invoice has been overdue. Each stage should have escalating urgency but remain professional throughout.
The 30-Day Notice: A Friendly Reminder
At 30 days past due, assume the customer may have genuinely forgotten. Keep the tone warm but clear. Include:
- The invoice number and original due date
- The amount owed
- Simple payment instructions (check, online portal, phone)
- A deadline for responding — typically 10–15 days
This is not the place for threats. A 30-day letter should read like a helpful nudge from a business that values the relationship.
The 60-Day Notice: Firmer Escalation
At 60 days, the tone shifts. The customer has received prior contact (by email or your first mailed notice) and hasn't responded. This letter should:
- Reference the previous notice
- State the total amount due, including any applicable late fees
- Set a firm deadline — typically 7–10 days
- Mention that continued non-payment may affect the customer's account standing or result in referral to a collections agency
Don't threaten anything you're not prepared to follow through on. Empty escalation language erodes your credibility.
The 90-Day Notice: Final Demand
At 90 days, you're approaching the threshold where most businesses refer accounts to collections or pursue legal remedies. This letter is your final demand before escalation. It should:
- State clearly that this is a final notice
- List all outstanding amounts, fees, and charges
- Specify an exact deadline — 5–7 days is standard
- State explicitly what happens next if payment isn't received (collections referral, legal action, service termination)
A well-crafted 90-day letter structured as a demand for payment serves as both a final collection attempt and a legal document establishing that proper notice was given.
Step 3: Write Each Notice With the Right Language
Each letter needs a few non-negotiables, regardless of which stage it represents.
Always include:
- Your business name, address, and contact information in the header
- The customer's full name and mailing address
- Invoice number(s) and original invoice date(s)
- The amount due (principal, plus any fees)
- A clear payment deadline
- Payment instructions — check payable to, mailing address, or online portal link
- Your signature or authorized representative name
Avoid:
- Vague language like "your account may be affected" — be specific
- Overly aggressive or threatening language at early stages
- Typos or incorrect amounts — these give customers grounds to dispute
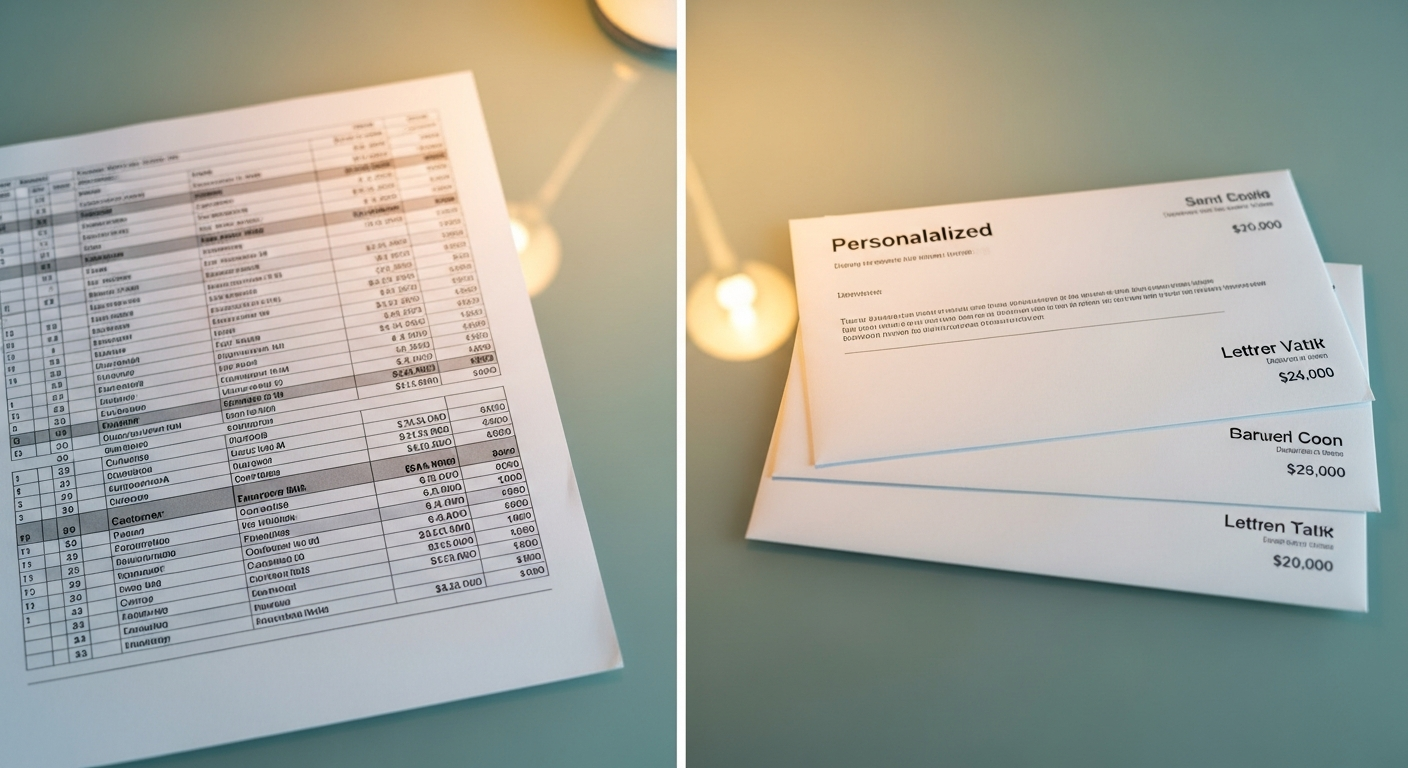
If you're dealing with dozens of customers who each have different balances, WriteToMail's variable data mail merge feature lets you map CSV columns — customer name, invoice number, amount due, due date — directly to placeholders in your letter template. Every recipient gets a personalized letter. You write the template once.
Step 4: Prepare Your CSV File for Bulk Sending
If you have more than a handful of overdue accounts, bulk mailing via CSV upload is the only practical approach. Doing it manually — printing, folding, stuffing, stamping — is simply not scalable.
Set up your spreadsheet with columns that match your letter's variable fields. A typical AR notice CSV might include:
| Column | Example |
|---|---|
| FirstName | Sarah |
| LastName | Chen |
| Address1 | 450 Commerce Blvd |
| Address2 | Suite 200 |
| City | Austin |
| State | TX |
| Zip | 78701 |
| InvoiceNumber | INV-2024-0892 |
| AmountDue | $1,247.50 |
| DueDate | March 15, 2026 |
| Deadline | June 5, 2026 |
Each row is one recipient. Each column maps to a placeholder in your letter template. When WriteToMail processes the upload, every letter is personalized automatically — Sarah's letter shows her name, her invoice number, her balance.
For a detailed walkthrough of how to format and upload your file, the guide on bulk letter mailing via CSV upload covers column formatting, common errors, and how to preview personalized letters before sending.
Step 5: Compose and Send Your Notices Through WriteToMail
Here's the step-by-step process inside WriteToMail:
- Create your letter — Use the rich text editor to compose your past-due notice. Or, if you already have a formatted document, upload it as a PDF directly.
- Insert variable fields — Add placeholders like
{{FirstName}},{{AmountDue}},{{InvoiceNumber}}into the letter body wherever personalized data should appear. - Upload your CSV — Go to the bulk mailing section, upload your spreadsheet, and map each CSV column to the corresponding variable field in your template.
- Preview — WriteToMail generates a preview of multiple merged letters before you commit to sending. Check a sample of personalized letters to verify accuracy.
- Submit the mailing — Once you confirm, the platform handles printing, stuffing, stamping, and USPS First-Class Mail delivery. You don't touch the physical process at all.
That's it. A batch of 200 personalized past-due notices that would take an AR clerk a full day to produce manually gets processed and sent in minutes.
WriteToMail is SOC 2 compliant, which matters when you're handling customer financial data — invoice amounts, account numbers, balances. Sensitive AR data stays protected throughout the printing and mailing workflow.
Step 6: Track Responses and Follow Up
Physical mail doesn't come with open tracking the way email does, but you can measure effectiveness through payment behavior.
After each mailing batch, log:
- The date letters were sent
- Which accounts were included (stage 1, 2, or 3)
- Payments received within 14 days of estimated delivery
Most businesses see the strongest response within 5–14 days of physical mail delivery. If an account reaches the 14-day mark with no response after a 90-day notice, it's time to decide: escalate to a collections agency, pursue small claims, or write it off.
For high-volume AR teams looking to systematize this entire workflow, the guide on automating accounts receivable mailing covers how to reduce days sales outstanding (DSO) by building a repeatable CSV-based mailing cadence.
Common Mistakes to Avoid
Sending only one notice and giving up. A single letter is rarely enough. The three-stage cadence exists because people respond at different pressure levels. Many late-paying customers won't act until the second or third contact.
Using the same tone across all three stages. A 90-day letter that sounds like a 30-day reminder signals you're not serious. Escalate the language deliberately and proportionally.
Incorrect amounts or account details. An error in the amount owed gives the customer an easy out — they'll dispute the notice and delay payment further. Triple-check your CSV data before sending.
Waiting too long to mail the first notice. Many businesses don't send a physical notice until an account is 60 or 90 days overdue. Sending a physical 30-day notice alongside or instead of your third email reminder dramatically improves early-stage collection rates.
Not keeping records. Log every mailing batch — date sent, recipients, letter version, response rate. This documentation protects you legally and helps you improve your collections process over time.
Skipping the CSV preview step. Before sending 300 letters, review at least 5–10 merged previews. A formatting error in your CSV can result in letters with missing amounts or garbled names — and you can't un-send physical mail.
Next Steps
Once your past-due notice workflow is running, here's how to build on it:
- Integrate your AR software — Export overdue accounts directly from QuickBooks, FreshBooks, or your billing system into a CSV. This reduces manual data prep to minutes.
- Build templates for all three stages — Save your 30, 60, and 90-day letter templates inside WriteToMail so each new mailing cycle requires only a CSV upload, not a rewrite.
- Consider physical mail for invoices from day one — Some businesses send the initial invoice by physical mail alongside the email version. The combination of both channels from the start leads to faster first payments and fewer accounts reaching past-due status.
If you're in property management, the workflow is nearly identical — the guide on sending bulk rent demand notices covers the same CSV-based approach for tenants with overdue balances.
For businesses that need to understand the full landscape of online mail platforms before committing, the comparison of bulk mail services online covers what to evaluate — CSV upload ease, variable data merge, per-piece pricing, and compliance certifications — when choosing the right tool for your AR team.
Sources
- Data & Marketing Association (DMA) — Response Rate Report — cited for direct mail vs. email response rate comparison (4.4% vs. 0.12%)
- WriteToMail — Variable Data Mail Merge Guide — methodology for CSV column mapping and bulk personalized letter sending
- WriteToMail — Accounts Receivable Letter Template — 30/60/90-day past-due notice template structure and variable field references
- WriteToMail — Bulk Letter Mailing CSV Upload Guide — CSV formatting requirements, column mapping, and preview workflow
- WriteToMail — Collections Letter Mailing Service — context on FDCPA considerations and AR escalation workflows
- WriteToMail — Send Invoices by Mail: Small Business Guide — physical mail escalation strategy for unresponsive digital billing contacts