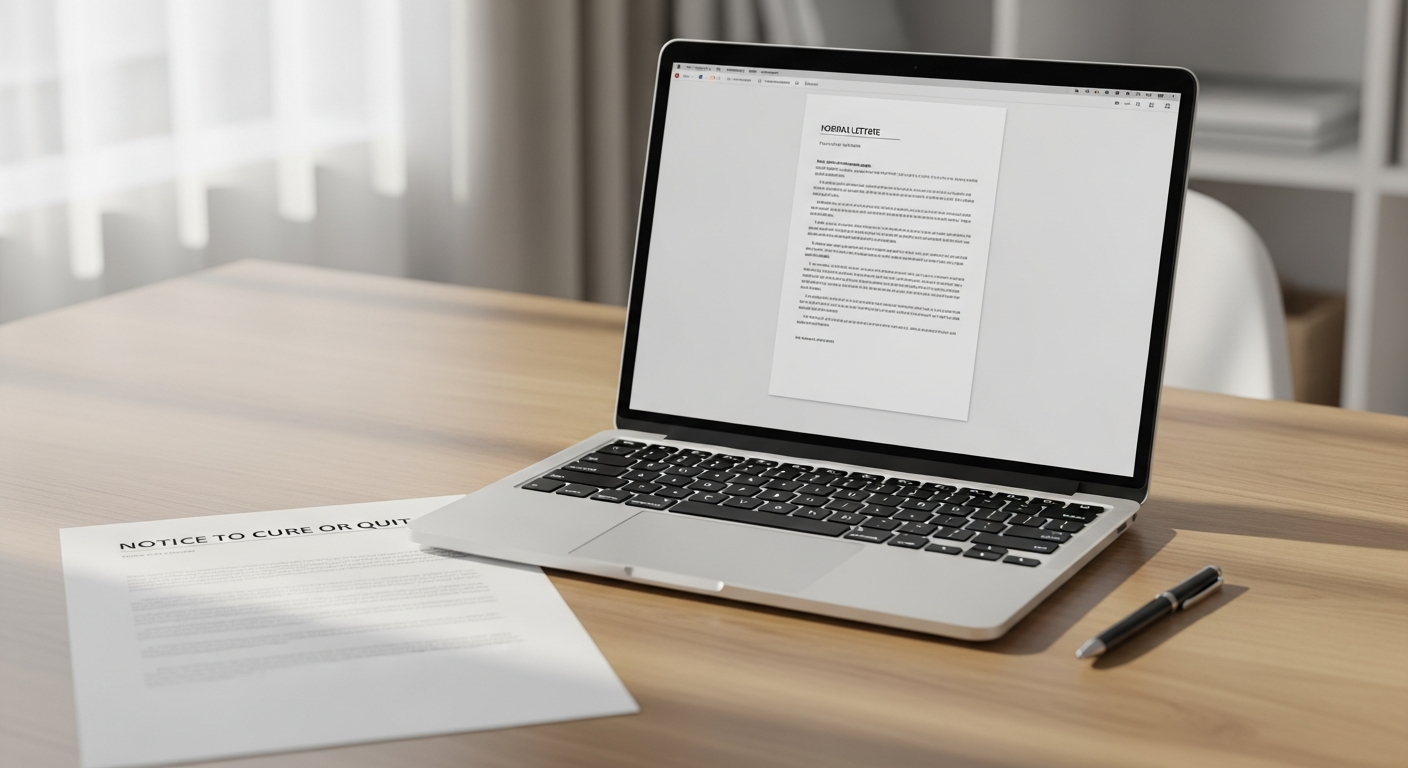
You've already done the hard part. The letter is written, formatted, and saved as a PDF. All you need now is for it to arrive — physically, in someone's mailbox — without you touching a printer, buying stamps, or driving anywhere.
This guide covers exactly how to upload and mail a PDF letter online using WriteToMail. By the end, your letter will be queued for printing and USPS First-Class Mail delivery. Zero re-typing required.
What You Need Before You Start
Getting this done takes under five minutes if you have these ready:
- Your letter as a PDF file. Most word processors export to PDF in one click. In Google Docs: File → Download → PDF Document. In Microsoft Word: File → Save As → PDF.
- The recipient's full mailing address. Street, city, state, and ZIP code. Double-check it — a wrong ZIP means a returned letter.
- Your return address. This appears on the envelope. It can be a home address, business address, or a P.O. Box.
- A WriteToMail account. Free to create at writetomail.com. You'll pay per letter sent, not a monthly subscription to start.
That's it. No printer. No stamps. No envelope.
Step 1: Create or Log In to Your WriteToMail Account
Go to writetomail.com and sign in. If it's your first time, registration takes about 60 seconds — just an email address and password.
Expected outcome: You land on your dashboard, where you can start a new letter.
One thing worth knowing up front: WriteToMail is SOC 2 compliant, which means the platform meets independent security standards for how your document and address data are handled. If you're mailing anything sensitive — medical correspondence, legal documents, financial notices — that matters.
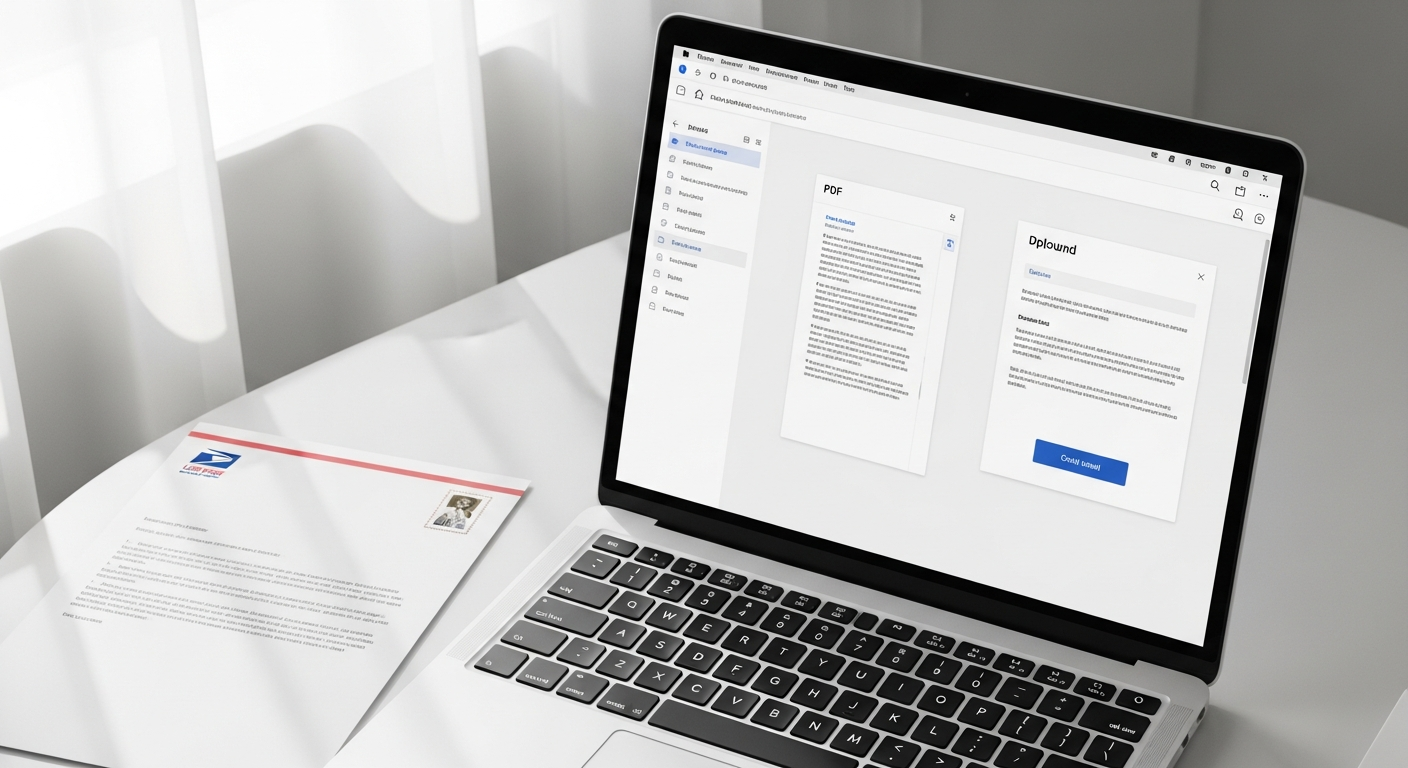
Step 2: Select the PDF Upload Option
From the dashboard, choose the option to send a new letter. You'll see a few ways to create your letter content — the rich text editor, AI drafting, or PDF upload.
Select PDF upload.
This is the path that skips the editor entirely. You're not rebuilding your letter. You're not copy-pasting text. You're handing over the finished file exactly as you formatted it.
Expected outcome: You reach the PDF upload interface, ready to accept your file.
Step 3: Upload Your PDF File
Click the upload area and select your PDF from your computer, or drag and drop the file directly.
A few technical notes that prevent headaches later:
- File size: Keep the PDF under the platform's size limit. Most standard letters — even multi-page ones — are well under 5MB.
- Font embedding: If you used custom fonts in your original document, make sure they're embedded in the PDF. The safest way is to export from the original application rather than converting from an image.
- Margins: Standard US letter paper is 8.5" × 11". If your document was formatted for a different paper size, check how it will render before submitting.
- Page count: Multi-page letters are supported. Each page will print as part of the same physical mailing.
Expected outcome: Your PDF uploads successfully and a preview renders on screen. Review it carefully here — this is what will be printed.
Step 4: Review the Print Preview
Before you move on, look at the preview with fresh eyes.
Check for:
- Text cutoff near the edges. If your margins are too narrow, text near the borders may not print cleanly.
- Correct page order. Page 1 should be page 1.
- No blank pages. An extra blank page at the end of your original document will print as an extra sheet of paper.
- Signature block. If you signed the letter digitally (an image of your signature embedded in the doc), verify it appears in the preview.
This step is where most problems surface — and where they're easiest to fix. If something looks off, go back to your original document, correct it, re-export the PDF, and upload again.
Expected outcome: The preview matches your intended letter exactly.
Step 5: Enter the Recipient's Mailing Address
Now enter the address of the person or organization receiving the letter.
The fields you'll fill in:
- Recipient name (individual or business name)
- Street address (include suite or apartment numbers)
- City, State, ZIP code
USPS address formatting matters here. According to USPS addressing standards, the delivery address line should include the street number, predirectional, street name, suffix, and any secondary unit designator. You don't need to memorize that — just use the standard format you'd write on an envelope and the platform handles the rest.
One practical tip: if you're unsure whether an address is deliverable, the USPS ZIP Code Lookup tool can verify it for free before you submit.
Expected outcome: The recipient address is entered, validated, and displayed correctly.
Step 6: Enter Your Return Address
Your return address goes on the envelope so the letter can be returned to you if it's undeliverable.
Use your full name or business name, street address, city, state, and ZIP. This also establishes who sent the letter — which matters in legal, professional, or formal correspondence contexts.
Expected outcome: The return address is confirmed and appears in the envelope preview.
Step 7: Choose Your Mailing Options
At this stage you'll confirm the mailing method. WriteToMail sends physical mail via USPS First-Class Mail, which typically delivers within 2–5 business days for domestic addresses.
Review the cost summary before confirming. Pricing depends on page count and mailing options — you can check current rates at writetomail.com/pricing.
Expected outcome: You understand what will be sent, to whom, and what it costs.
Step 8: Submit and Pay
Confirm your order. WriteToMail handles everything from here: printing your PDF on standard letter paper, folding it, inserting it into an envelope, applying postage, and handing it off to USPS.
You'll receive a confirmation with your order details. Some orders include tracking or delivery confirmation — check your confirmation email for specifics.
Expected outcome: Your letter is queued for production and mailing. No further action required on your end.
Common Mistakes (and How to Fix Them)
Uploading a Word doc instead of a PDF. The upload expects a PDF. Export from Word or Google Docs first. Do not upload a .docx file.
Forgetting to embed fonts. If you used a font that isn't system-standard, it may not render correctly without embedding. Use "Save as PDF" from the original application — not a third-party converter — to ensure fonts are embedded.
Wrong recipient ZIP code. A mistyped ZIP routes the letter to the wrong facility. Verify ZIP codes at tools.usps.com before submitting.
Margins too tight. Standard print-safe margins are at least 0.5" on all sides. Anything closer to the edge risks text getting clipped during printing.
Submitting before reviewing the preview. The preview step exists for a reason. Skipping it means discovering a formatting issue after the letter has already been printed and mailed. Take 30 seconds to check it.
Blank trailing pages. If your source document has a blank page at the end (common in Word), that blank page will print and add to your page count. Delete it before exporting.
Troubleshooting
PDF won't upload: Check the file size. Try re-exporting from the original application. Avoid PDFs that are password-protected or encrypted — these can't be processed.
Preview looks garbled or fonts are wrong: This is almost always a font-embedding issue. Re-export from the source application using the native PDF export (not a print-to-PDF driver).
Address validation fails: Some suite or apartment designators format differently than expected. Try abbreviating — "Suite" → "Ste", "Apartment" → "Apt" — and using all caps for state abbreviations.
Letter didn't arrive within 5 business days: USPS First-Class Mail delivery windows can stretch during peak periods. Check any tracking information in your confirmation email first. If the issue persists, contact WriteToMail support.
When This Approach Makes More Sense Than Printing at Home
The obvious use case is not owning a printer. But plenty of people use this method even when a printer is available.
Printing a multi-page letter, loading envelopes, finding stamps, and making a post office run easily consumes 20–30 minutes. Uploading a PDF and submitting it online takes under five minutes. For anyone sending formal letters regularly — dispute correspondence, legal notices, professional communications — the time math is obvious.
If you're sending a formal complaint letter, for instance, the physical mailed copy carries more legal weight than an email. The guide to sending a formal complaint letter covers exactly why physical mail matters in those situations.
Similarly, if you've ever needed to send a demand letter, a printed and mailed demand letter via USPS creates a documented paper trail that an email simply can't replicate.
And if you regularly send letters to many recipients — collections notices, legal notifications, tenant correspondence — the same platform supports bulk mailing via CSV upload, so the PDF upload workflow scales without any additional complexity.
Next Steps
You uploaded your letter, entered the address, and submitted it for mailing. USPS handles delivery from here.
A few things to consider for future sends:
- Save your letter file. Keep the PDF in a folder organized by recipient and date. If there's ever a dispute about what was sent, you'll have the original.
- Note your submission date. USPS First-Class Mail delivery dates are not guaranteed, but First-Class typically delivers within 2–5 business days. If your letter has a response deadline, factor in transit time.
- Explore other document types. WriteToMail also supports sending physical checks by mail — useful for anyone managing payments without a checkbook.
- Law firm users: WriteToMail offers a dedicated plan for law firms with features built around legal correspondence volume and compliance. Details at writetomail.com/for-law-firms.
The whole process — from PDF on your desktop to letter in someone's physical mailbox — happens without you touching a printer, a stamp, or a post office door.
Sources
- USPS Publication 28 — Postal Addressing Standards — official USPS standards for delivery address formatting used in Step 5
- USPS ZIP Code Lookup Tool — free address and ZIP code verification tool referenced in Step 5 and troubleshooting
- WriteToMail Pricing Page — current rates for letter mailing referenced in Step 7
- WriteToMail — PDF Upload and Mail Feature — primary platform used throughout this guide
- WriteToMail — How to Send Bulk Mail Online — bulk CSV mailing workflow referenced for high-volume use cases
- WriteToMail — How to File a Formal Complaint Letter — physical mail vs. email legal weight in complaint correspondence
- WriteToMail — How to Mail a Check Online — related service for physical check delivery without a checkbook