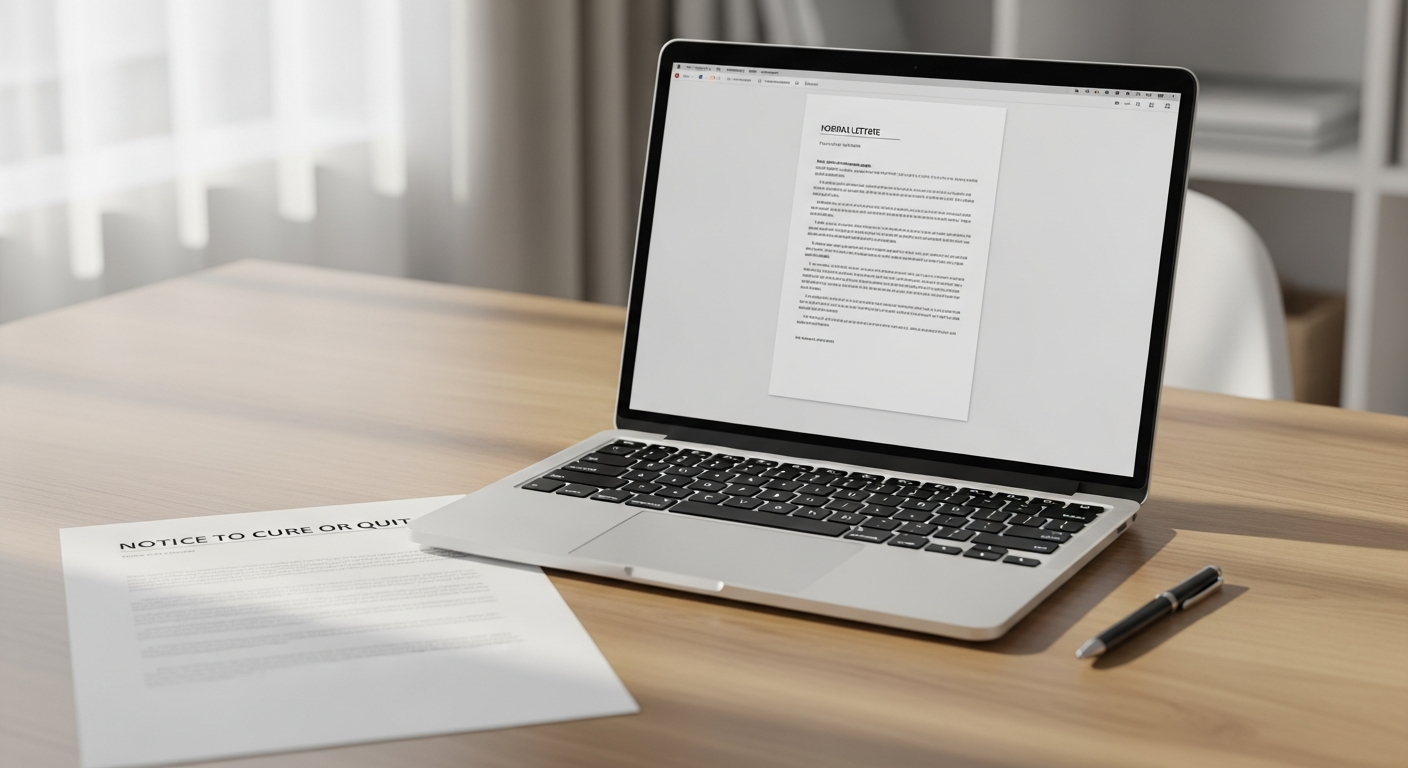
Sending 500 identical letters is easy. Sending 500 personalized letters — each one addressed to the right person, with the correct balance due, account number, and name — used to require a print shop, a mail house, or a very patient intern. Variable data mail merge via CSV changes that completely.
This guide walks through exactly how to set up a variable data mail merge for bulk letters using a CSV file, map columns to letter placeholders, format your data correctly, preview results before printing, and deliver everything via USPS First-Class Mail — without owning a printer or visiting the post office.
What You'll Need Before You Start
Prerequisites:
- A CSV file containing your recipient data (at least name and mailing address)
- A letter template with variable placeholders written out
- A WriteToMail account (free to create)
- 10–15 minutes for setup; longer if you're cleaning data
What you'll achieve: By the end of this guide, you'll have a fully personalized bulk mailing ready to send — with each recipient's name, address, account number, amount due, or any other variable field pulled directly from your spreadsheet and inserted into the letter body automatically.
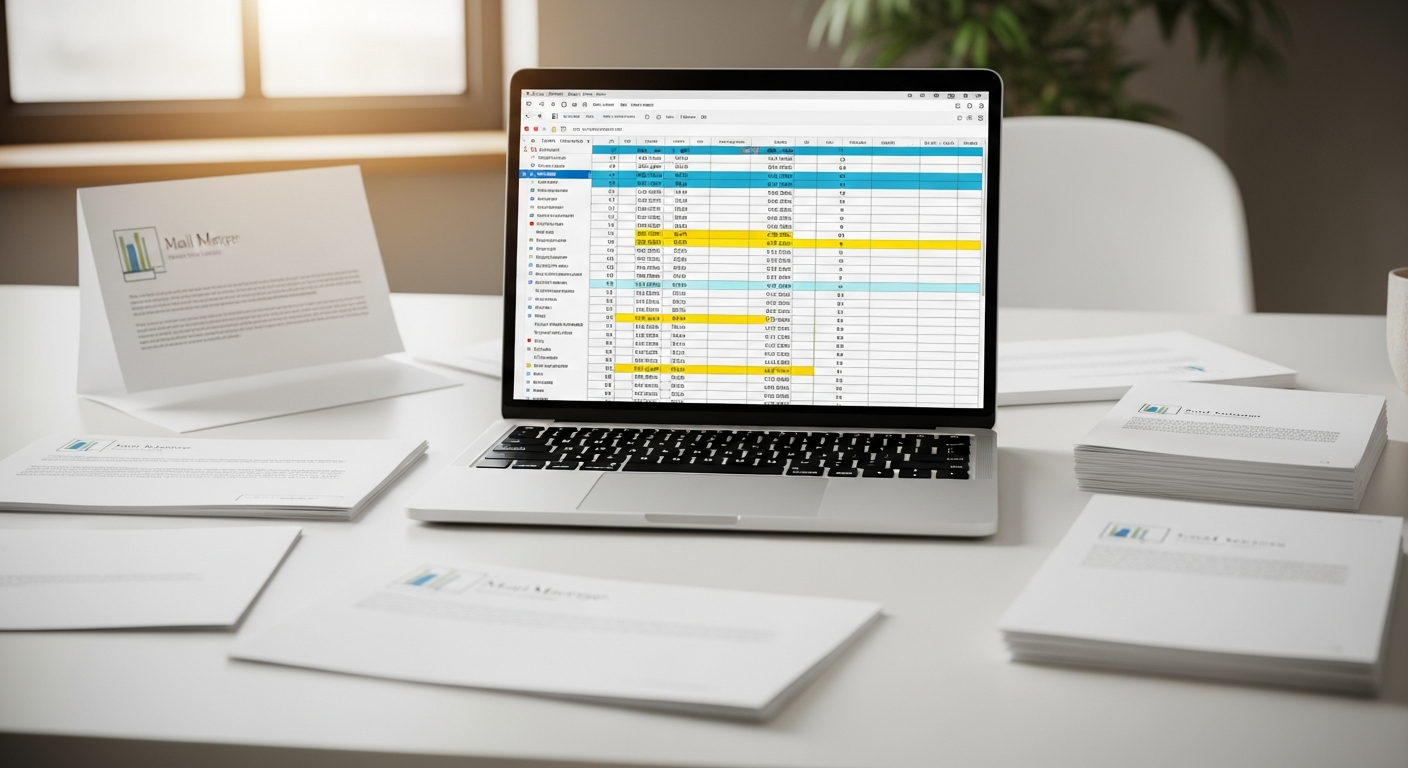
Step 1: Build Your CSV File with the Right Columns
Your CSV is the backbone of the entire merge. Every column becomes a variable you can reference inside your letter template. Get this wrong and hundreds of letters go out with blank fields or formatting errors.
Required columns
At minimum, your CSV must include:
| Column Name | Description | Example |
|---|---|---|
first_name |
Recipient's first name | Maria |
last_name |
Recipient's last name | Gonzalez |
address_line1 |
Street address | 482 Oak Street |
address_line2 |
Unit/Apt (if applicable) | Apt 3B |
city |
City | Chicago |
state |
Two-letter state code | IL |
zip |
5-digit ZIP code | 60614 |
Optional columns (commonly used for billing and collections)
account_number— pulls into letter body for account referenceamount_due— outstanding balance or invoice totaldue_date— payment deadlineinvoice_number— unique invoice identifiercustom_field_1throughcustom_field_5— flexible fields for anything else
Expected outcome: A clean spreadsheet where each row represents one recipient and each column holds exactly one piece of data. No merged cells, no header rows beyond the first row, no trailing spaces.
Critical formatting rules
- State abbreviations must be uppercase two-letter codes (IL, not Illinois)
- ZIP codes must be formatted as text, not numbers — Excel auto-strips leading zeros for states like Massachusetts (02134 becomes 2134, which breaks delivery)
- Amount fields should be numeric only — no dollar signs in the cell itself. The letter template handles formatting.
- Remove any rows with missing
address_line1,city,state, orzip— incomplete addresses will fail USPS validation.
Step 2: Write Your Letter Template with Variable Placeholders
Your letter template uses placeholder syntax to mark where variable data gets inserted. The placeholders get replaced with the actual values from your CSV columns when the merge runs.
Standard placeholder format
Wrap column names in double curly braces:
Dear {{first_name}} {{last_name}},

Your account ({{account_number}}) has a balance of ${{amount_due}} due by {{due_date}}.
When the merge runs, a row containing Maria, Gonzalez, ACC-4821, 347.50, and May 15, 2026 produces:
Dear Maria Gonzalez,
Your account (ACC-4821) has a balance of $347.50 due by May 15, 2026.
Tips for writing merge-ready templates
Write the full letter first, then go back and swap proper nouns and variable data with placeholders. Don't write around the placeholders — write naturally, then replace.
Keep a consistent naming convention. If your CSV column is amount_due, your placeholder must be {{amount_due}} — not {{AmountDue}} or {{amount due}}. Capitalization and spacing matter.
For legal correspondence specifically — demand letters, past-due notices, account statements — precise variable placement is critical. A letter that says "your balance is $0.00" because of a mapping error doesn't just look bad; it can undermine the document's legal standing.
Expected outcome: A letter template that reads naturally for every recipient, with placeholders in every location where personalized data should appear.
Step 3: Upload Your CSV and Map Columns
With your CSV ready and your template written, the next step is uploading the file and confirming that each column maps to the correct placeholder.
The upload process
- In WriteToMail, navigate to the bulk mailing workflow
- Upload your CSV file
- The platform reads your column headers and presents a mapping interface
- For each column header in your CSV, confirm or select the corresponding placeholder field in your letter template
- Verify the address fields map to the correct USPS delivery fields
What to watch for during mapping
Auto-mapping works well when your column names closely match the expected field names. If your spreadsheet uses Balance instead of amount_due, you'll manually assign that column during the mapping step — takes ten seconds.
Address fields are the most important to get right. The system uses your address columns to generate the USPS delivery address on the envelope and to validate deliverability. A mismatch here means mail goes to the wrong address or gets returned.
Expected outcome: Every column in your CSV is confirmed mapped to the correct placeholder. The system shows a row count — confirm it matches your expected recipient count before proceeding.
Step 4: Preview Personalized Letters Before Sending
Never skip this step. Previewing lets you catch formatting errors, blank fields, or awkward phrasing before thousands of letters go to print.
How to preview
Most platforms — including WriteToMail — generate a live preview of merged letters using real rows from your CSV. You should review:
- Row 1 — your first recipient
- A middle row — tests a typical record
- Any edge cases — rows with missing optional fields, unusually long names, or large dollar amounts
Look specifically for:
- Blank placeholders where data should appear (indicates a mapping error or empty cell)
- Dollar amounts that look wrong — a field pulling
$from the cell instead of the template - Addresses that appear garbled or incomplete
- Names that autocapitalized incorrectly (all-caps last names in some databases)
What good looks like
A clean preview shows a letter that reads like it was written specifically for that person. The address block is complete. The name is correctly formatted. The dollar amount matches what's in your spreadsheet. The letter body flows naturally without awkward spacing where placeholders were.
Expected outcome: At least 3–5 rows reviewed and confirmed correct. Any issues caught here are fixed in the CSV or template, not after printing.
Step 5: Set Postage, Paper Options, and Send
With everything confirmed, the final step is selecting your send options and submitting the job.
What you're choosing
- Paper type — standard letter (8.5 × 11), single or double-sided
- Postage class — USPS First-Class Mail (standard for business correspondence and legal notices)
- Envelope type — standard #10 business envelope
- Color or black-and-white printing
WriteToMail handles printing, folding, inserting, stamping, and USPS handoff on your behalf. You submit the job online; physical letters arrive at recipient addresses within the normal USPS First-Class Mail delivery window.
Compliance note
For healthcare billing departments and covered entities sending patient correspondence, WriteToMail is a HIPAA-compliant physical mail service — meaning your patient data is handled and printed in a SOC 2 certified environment. If you're in healthcare, this matters before you upload any PHI. More detail on that is covered in the guide to HIPAA-compliant physical mail for healthcare organizations.
Expected outcome: Job submitted, confirmation received, and USPS delivery underway. For First-Class Mail, most recipients receive letters within 3–5 business days.
Common Mistakes and How to Fix Them
1. ZIP codes losing leading zeros
Problem: Excel formats ZIP codes as integers, dropping the leading zero. 02134 becomes 2134.
Fix: Format the ZIP column as text before entering data, or add a custom format of 00000 in Excel. In Google Sheets, use Format > Number > Plain text for that column.
2. Placeholder names don't match column headers
Problem: Your CSV column is named Balance_Due but your template uses {{amount_due}}. The placeholder renders blank.
Fix: Either rename the CSV column to match the placeholder exactly, or remap the column during the upload step.
3. Dollar signs inside the CSV cells
Problem: Your CSV has $347.50 in the amount column. Your template wraps it with ${{amount_due}}, producing $$347.50.
Fix: Store raw numeric values in the CSV (347.50) and format currency in the template (${{amount_due}}).
4. Rows with missing required address fields
Problem: Some rows are missing a city or ZIP code. Those letters fail USPS validation and don't send.
Fix: Run a filter in your spreadsheet for blank cells in address columns before uploading. Remove or fix incomplete rows.
5. Extra header rows or merged cells
Problem: Exported CRM data sometimes includes a company name row above the actual column headers. The parser reads the wrong row as headers.
Fix: Open the CSV in a text editor or spreadsheet app and confirm row 1 contains only column headers — nothing above it.
Who Uses Variable Data Mail Merge This Way
The workflow above applies across a lot of industries, but a few use it heavily:
Accounts receivable teams sending past-due notices need amount_due, account_number, and due_date fields per recipient — exactly the use case this workflow is built for.
Property managers running dozens or hundreds of units use bulk CSV mail to send lease violation notices, rent reminders, or eviction pre-notices at scale. The bulk rent demand notice guide for property managers covers that vertical specifically.
Law firms handling client notifications, demand letter campaigns, or mass legal notices use personalized bulk mail to maintain a paper trail on USPS-delivered correspondence. The complete direct mail guide for law firms goes deeper on compliance, documentation, and scaling mail without adding paralegal hours.
Troubleshooting: When the Merge Looks Wrong
All letters show the same name: Column mapping assigned the same field to multiple placeholders, or the CSV has only one unique value in that column. Re-check the mapping step.
Letters are blank: The template was saved without placeholders, or the file uploaded was a different version. Re-upload the template.
Address validation fails for all rows: The state column is using full state names instead of two-letter abbreviations, or the ZIP column was formatted as a number and is failing length checks.
Row count doesn't match: Excel sometimes adds blank rows at the bottom of a CSV export. Open the file and delete any trailing empty rows before re-uploading.
Next Steps
Once you're comfortable with basic field mapping, a few things worth exploring:
- Multi-page letters — if your letter runs longer than one page, check how the platform handles page breaks and whether pricing changes
- Return address customization — for business correspondence, using your company's return address on the envelope matters for professionalism and mail returns
- Combining bulk mail with check sending — some accounts payable workflows require both a letter and a physical check to the same recipient; WriteToMail supports sending checks by mail online as a separate workflow
If you're new to bulk mail workflows entirely and want to understand the broader process before going deep on variable data, the guide on how to send bulk mail online without going to the post office is a solid starting point.
Sources
- USPS - ZIP Code FAQs and Formatting Requirements — USPS addressing standards referenced for ZIP code formatting and state abbreviation requirements
- U.S. Census Bureau - Geographic Areas Reference Manual — Reference for state abbreviation standards used in mailing addresses
- HHS - HIPAA and Electronic Data Standards — Background on HIPAA compliance requirements referenced in the healthcare mailing note
- USPS - First-Class Mail Overview — Delivery time frames and service details for USPS First-Class Mail cited in Step 5
- Data Quality Campaign - Data Formatting Best Practices — General reference for data hygiene practices including text vs. numeric formatting for identifier fields